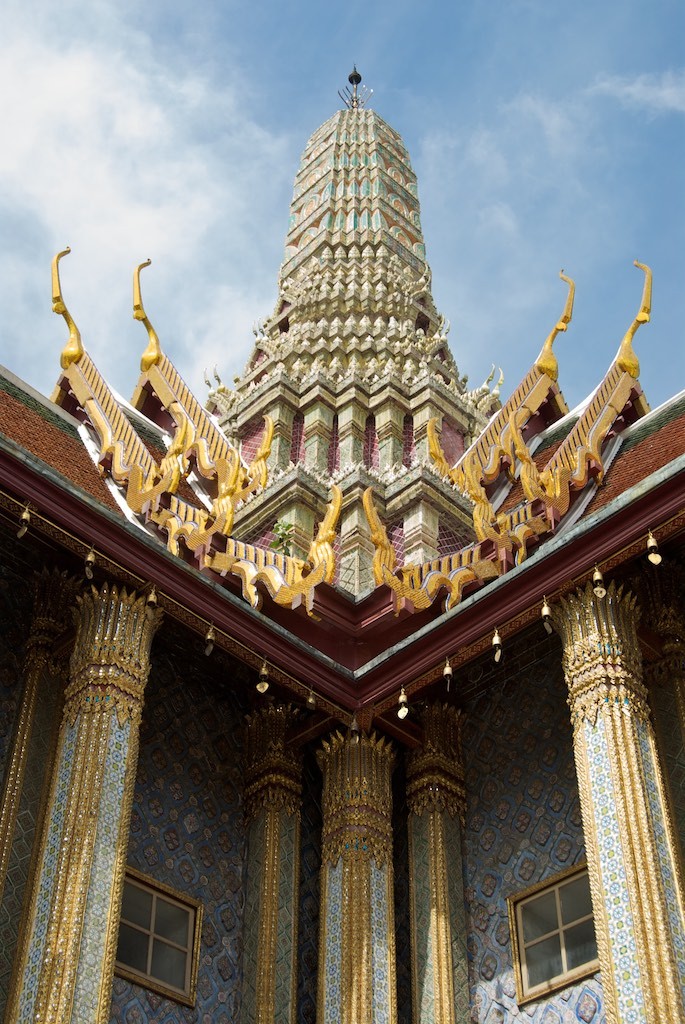
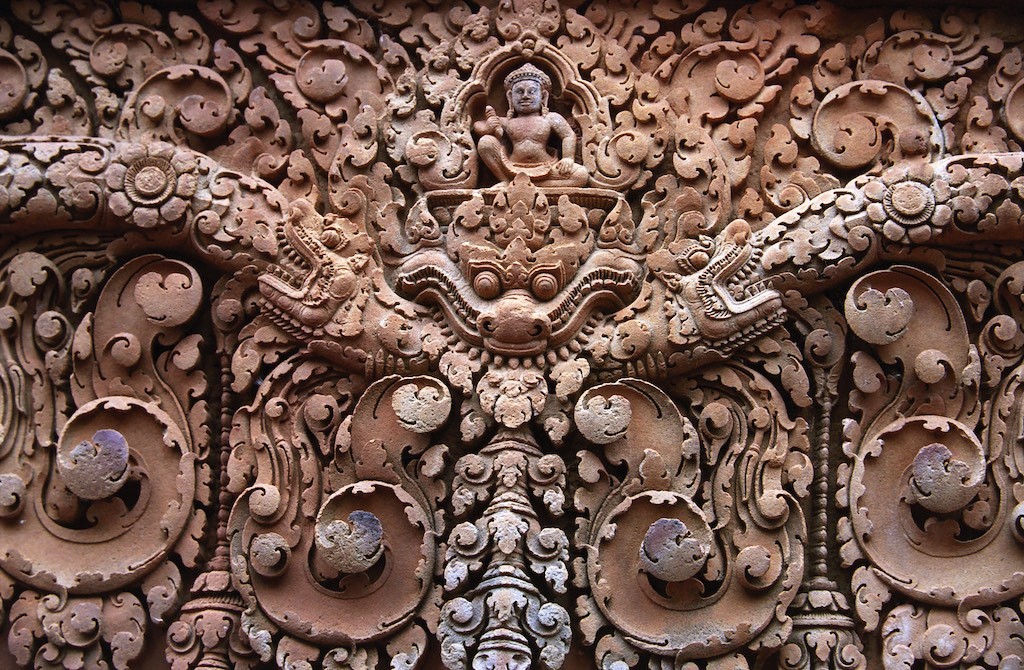
When using the rule of thirds, we don’t put out subject in the middle of the frame. We put our subject off to one side and, as a result, the two halves of the image are different. That means that the image is not symmetrical but it can still be balanced.
In this workshop we are creating images that are symmetrical. What exactly does it mean to be symmetrical?
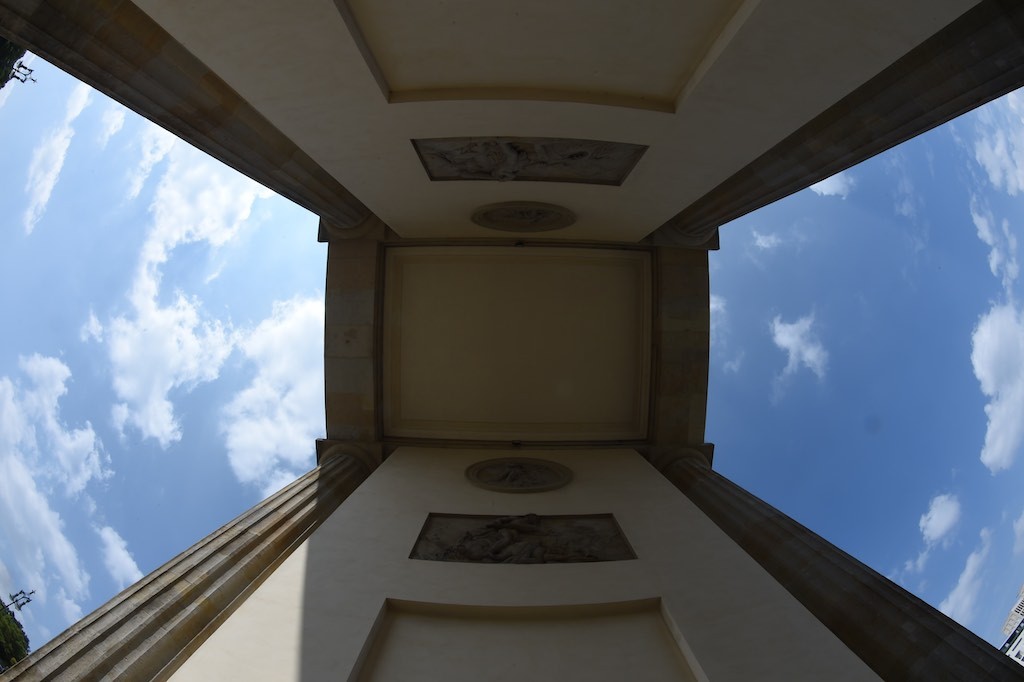
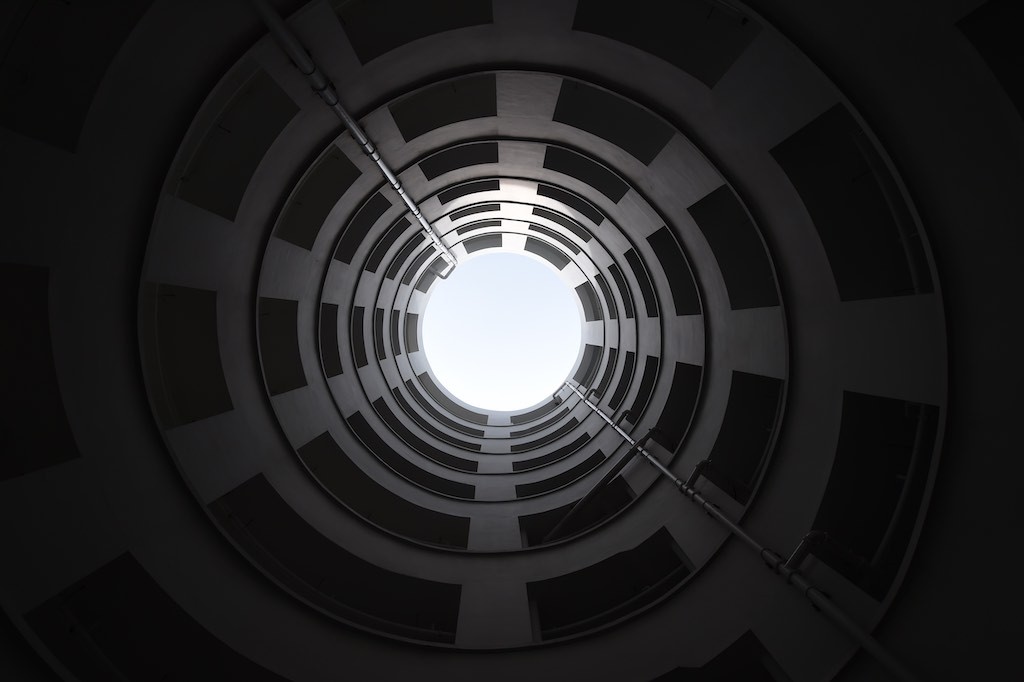
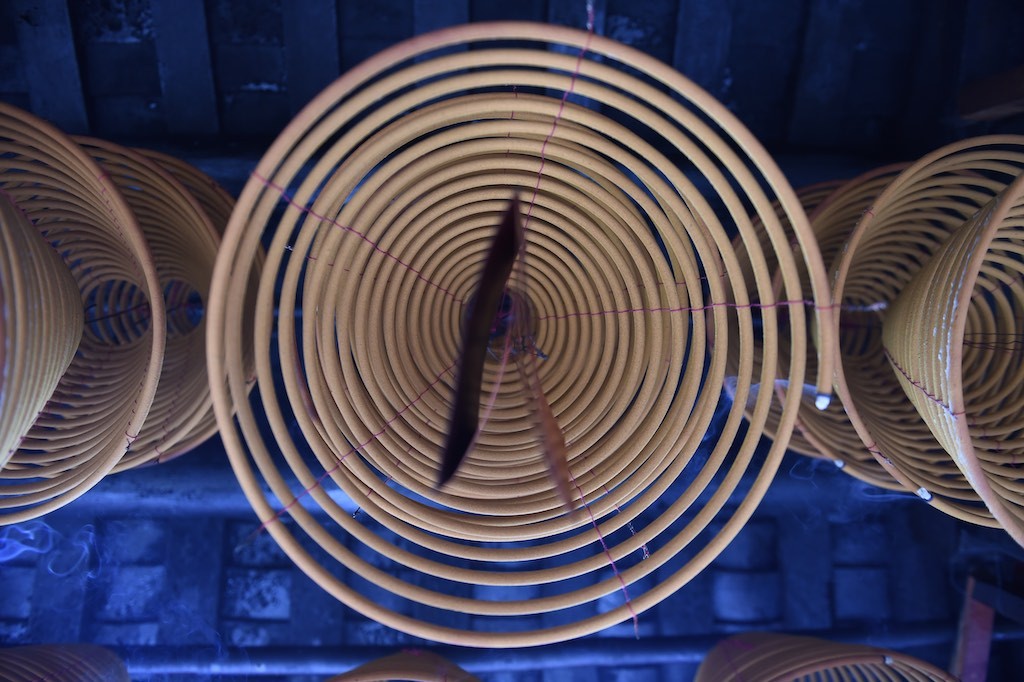
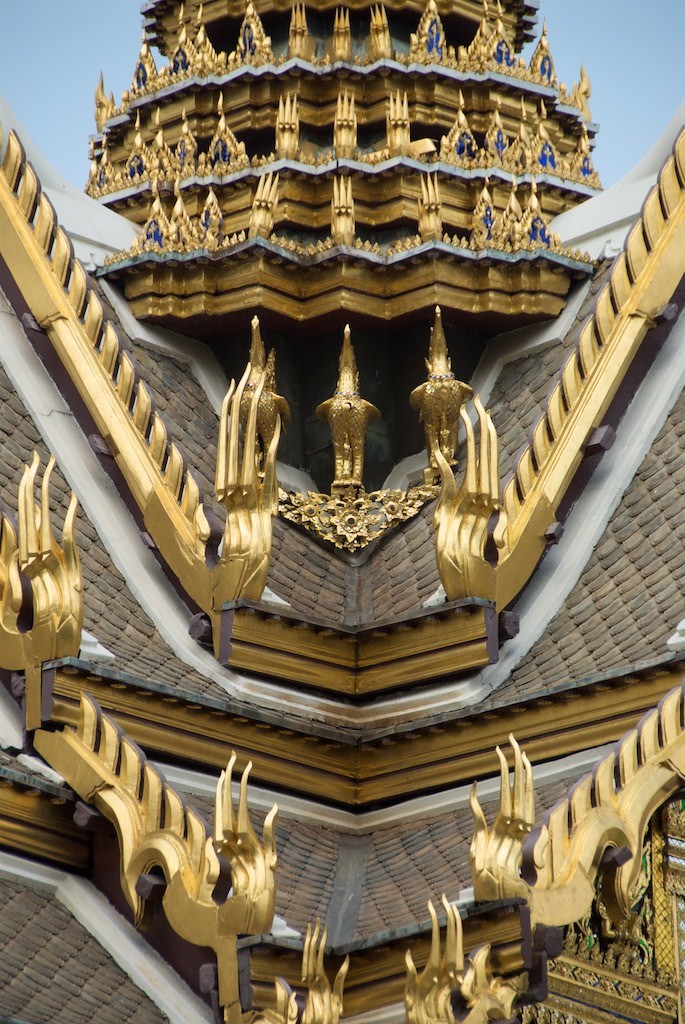
Symmetry is when one half of your image is basically identical to the other half of your image.
When you create a symmetrical image with both sides of the frame the same, sometimes the viewer’s eye wanders from one side to the other and doesn’t have a place to rest so the viewer can feel restless while looking at the image.
However, often the image is pleasing to the eye, partly because the viewer enjoys looking back and forth to corresponding parts of either side of the image looking for similarities and differences – sort of like a game of spot the difference. When there is a difference on one side of the image, that becomes the focal point of the image or the resting point for your eye as it looks around the image. This may be a great time to put yourself in the image or to patiently wait for someone to appear when you have a symmetrical image composed.

Can you spot the difference? Once you spot the man on the right hand side, you eye continues to be drawn back to him.
To create a symmetrical image you first need to find a symmetrical subject. That might sound like a difficult task but it isn’t. Our world is filled with symmetrical subjects.
Look around you right now. There are probably symmetrical objects all around you – from windows to tables, there are symmetrical objects everywhere. You just need to look for them and be aware of the photographic opportunities.
Your position is very important when capturing an image of a symmetrical object. You will need to line yourself up so you are aligned with the middle of the object. If you are off to one side even a little, the resulting image will appear lopsided and not be symmetrical. I find it easiest to line myself up without putting the camera to my eye. That way I can take in the whole scene instead of just having the view through my lens to rely on.

This image isn’t quite symmetrical because I didn’t line myself up correctly. The top of the building on the right side is higher in the frame than the left side.
Choose a perspective that allows you to best show off the symmetry of your subject. It doesn’t really matter what lens you choose but I find it might be easier to start with a normal to telephoto lens because the limited field of view allows me to concentrate on the symmetry of the subject.
Hint – Another great way to create symmetrical images is by capturing a reflection. You can use any shiny surface like a water to photograph a reflection.

Putting your camera on the ground next to a reflective surface like water is a great way to capture a symmetrical image.
Workshop: Capturing symmetrical images
Explore the world around you for symmetry. Buildings are often great subjects for symmetry as are human made objects. Look down at your feet because there are sometimes markings on the ground like different floor tiles which meet at a centre point of your subject and help you to create your symmetrical image.
Remember that if there is a part of the image that is different it will often become the focal point. I like to use a person to break up the symmetry of an image and add a point of interest.
What you need:
Your camera and any lens but a regular or telephoto lens may be easier for subject isolation. You can also use your phone for this workshop.
Remember:
Make sure you align yourself properly with what you are trying to photograph.
Sometimes it is helpful to align yourself without the camera up to your eye.
This is a time to ‘break the rules’ of composition.
If there is an object that is on one side of your image but not on the other, it can become a focal point for the viewer.
Thanks for all your support. As an Amazon Associate I earn from qualifying purchases.

